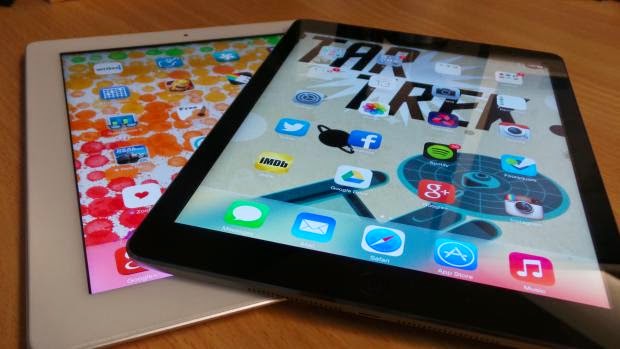
Want to print documents or photos straight from your iPad? Here’s how it is done, complete with step by step instructions
Printing from an iPad can be a rather complicated process if you've never done it before. All you want is to get a physical copy of your document from your beloved iPad. You've tried and failed numerous times. Don't fret however because it can be done. Here's a break down of all the ways in which you can print from an iPad.
Method 1 – Print With AirPrint
AirPrint is Apple’s own version of native printing. To be able to use it you’ll need a wireless-enabled printer and that will need to be connected up to your wireless network.. Every printer will be a little different but the general jist is you need to be connected up to the same wireless network as your iPad.
Now on your iPad you want to find what you need to print. Whether it's a web page, your mail, a document from Pages or a Photo.
Once you’ve decided what you want to print you need to hit the Action button. It looks like a rectangle with an arrow coming out of it. The button opens up a large menu of options and you want to select print. You can then decide which printer you want to use and how many copies you’d like to print.
 Note: If you’re in the app Pages, you’ll need to click the wrench icon inside. Then you can press Share and Print and select the latter from that menu.
Method 2 – Print With Google Cloud Print
First up you need to make sure your printer is fully connected up the wireless network but this time around it also needs to be installed on a computer on the network, too. You’ll also need to ensure Google Chrome is installed on that computer as well.
Once you’ve done all that open up Chrome on the computer and click of the Menu button at the top right. It looks like three horizontal lines. Inside that menu head to Settings and at the bottom it’ll say “show advanced settings.”
Google Cloud Print settings will be under that tab and it’ll say “sign in to Google Cloud Print.” Now all that is left to do is select your printer you want to add.
Now you can step away from the computer and open up Google Chrome on your iPad which you can download for free from the App Store. Then you just need to sign into your Google Account inside Chrome.
Find the page or document you want to print and you should be able to head to the menu on the top right and select Print and then Google Cloud Print.
Now just select the printer you’ve set up and print to your heart’s content.
Printing from an iPad can be a rather complicated process if you've never done it before. All you want is to get a physical copy of your document from your beloved iPad. You've tried and failed numerous times. Don't fret however because it can be done. Here's a break down of all the ways in which you can print from an iPad.
Method 1 – Print With AirPrint
AirPrint is Apple’s own version of native printing. To be able to use it you’ll need a wireless-enabled printer and that will need to be connected up to your wireless network.. Every printer will be a little different but the general jist is you need to be connected up to the same wireless network as your iPad.
Now on your iPad you want to find what you need to print. Whether it's a web page, your mail, a document from Pages or a Photo.
Once you’ve decided what you want to print you need to hit the Action button. It looks like a rectangle with an arrow coming out of it. The button opens up a large menu of options and you want to select print. You can then decide which printer you want to use and how many copies you’d like to print.
 Note: If you’re in the app Pages, you’ll need to click the wrench icon inside. Then you can press Share and Print and select the latter from that menu.
Method 2 – Print With Google Cloud Print
First up you need to make sure your printer is fully connected up the wireless network but this time around it also needs to be installed on a computer on the network, too. You’ll also need to ensure Google Chrome is installed on that computer as well.
Once you’ve done all that open up Chrome on the computer and click of the Menu button at the top right. It looks like three horizontal lines. Inside that menu head to Settings and at the bottom it’ll say “show advanced settings.”
Google Cloud Print settings will be under that tab and it’ll say “sign in to Google Cloud Print.” Now all that is left to do is select your printer you want to add.
Now you can step away from the computer and open up Google Chrome on your iPad which you can download for free from the App Store. Then you just need to sign into your Google Account inside Chrome.
Find the page or document you want to print and you should be able to head to the menu on the top right and select Print and then Google Cloud Print.
Now just select the printer you’ve set up and print to your heart’s content.

No comments:
Post a Comment